Drawing the Space Between Things: A Practical Negative-Shape Workout
Most drawing problems are described as problems with the object: the handle is too narrow, the branch bends at the wrong point, or the second vase feels too tall. Yet the quickest correction often comes from looking somewhere else. The empty shape beside the handle, below the branch, or between the two vessels is usually easier to compare than the object itself.
Negative shapes are not leftovers. They are measurable pieces of the composition. Learning to draw them turns observation from a vague act into a set of clear comparisons.
Set up a subject with useful gaps
Choose two simple objects and one linear element: two cups and a spoon, two jars and a plant stem, or a shoe beside a folded strap. Arrange them so the objects overlap slightly while leaving several distinct spaces between and around them. Avoid a perfectly symmetrical setup. Uneven intervals give the eye more information.
Place a lamp or use side light so the silhouette is easy to read. Work on mid-size paper with charcoal, a soft pencil, or a broad digital brush. You need a tool that can fill an area quickly; this is not an outline exercise.
Begin with the outside boundary
Draw a rectangle to define the edges of your image. Before drawing any object, study the strips of space between the setup and the rectangle. Which side has the narrowest gap? Where does the branch approach the top edge? Does the lowest object sit above or below the visual centre?
Mark those intervals with small ticks. The frame is your first measuring tool. It converts a floating still life into a collection of distances that can be compared.
Fill the background, not the subject
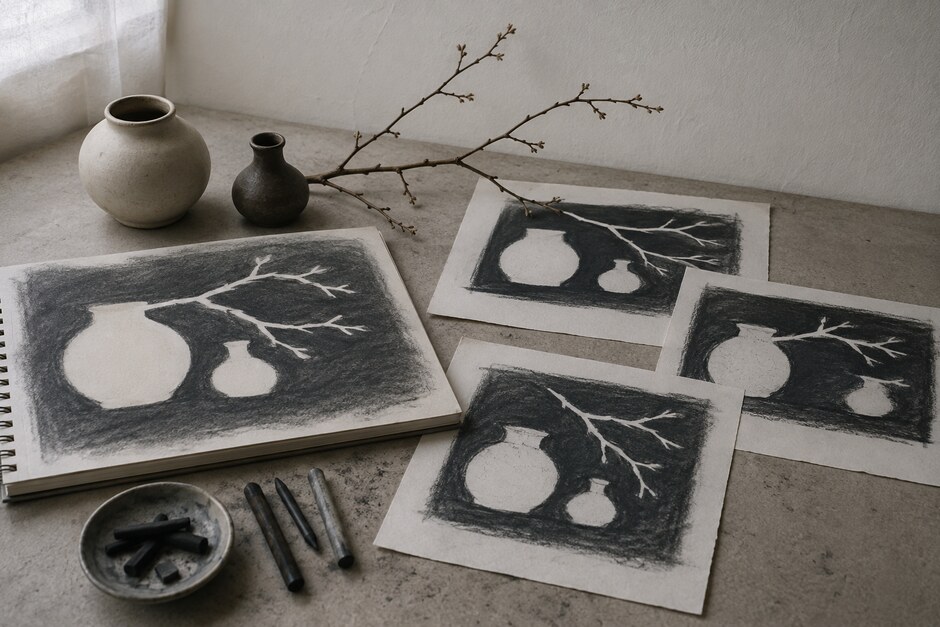
Now shade the space around the objects as one connected dark field. Leave the objects as untouched paper. Work from large areas toward smaller pockets. If a gap looks wrong, change the dark shape rather than tracing a corrective line around the object.
Pay special attention to narrow passages. A tiny wedge between two forms may carry more positional information than a long outer contour. Ask whether it widens gradually, pinches suddenly, or stays nearly parallel.
Make four small variations
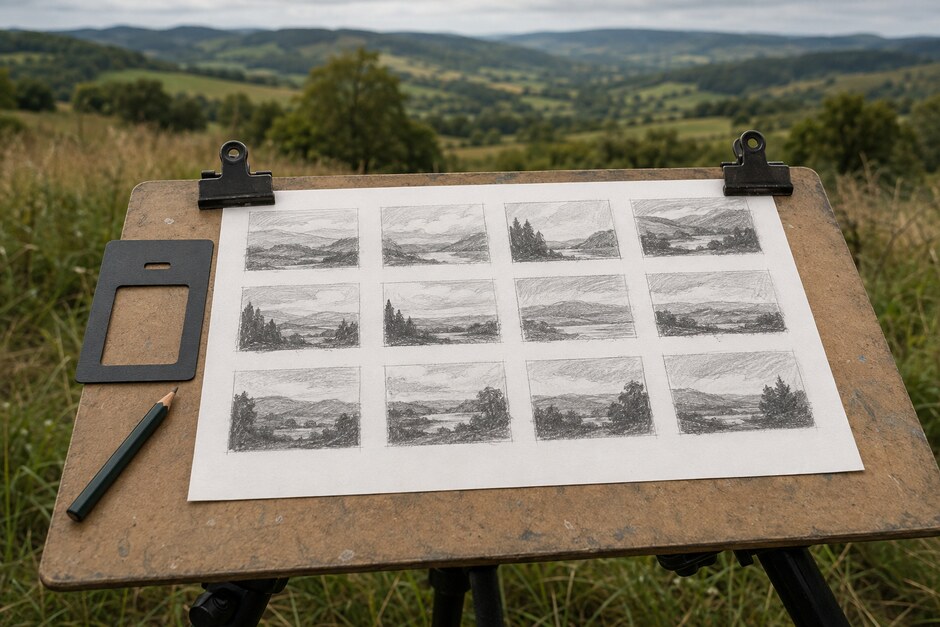
Divide a second sheet into four boxes and repeat the subject at thumbnail size. Give each study a different constraint:
- Silhouette only: one flat dark background and untouched objects.
- Internal gaps only: fill the spaces between objects but ignore the outer background.
- Cropped view: move the frame so part of the arrangement leaves the page.
- Reversed value: make the objects dark and keep the surrounding space light.
The goal is not four polished drawings. Compare which version makes the arrangement feel stable, compressed, open, or directional.
Use a simple checking sequence
When a shape feels uncertain, stop naming the object and check three relationships. First compare height to width. Next compare the angle of its longest boundary. Finally compare its distance from the nearest edge of the frame. These checks are concrete enough to repeat and quick enough to use while drawing.
You can also rotate the page ninety degrees. The setup becomes less recognisable, which makes mismatched gaps easier to spot. This is especially useful when familiarity tempts you to draw a symbol for a vase, leaf, or hand.
Bring contour back at the end
After the negative shapes hold together, add only the internal lines needed to clarify overlaps or structure. Notice how little contour is required. Because the surrounding intervals are already convincing, a few marks can describe the object without enclosing every edge.
This restraint connects directly to the edge decisions in Edges Before Details. A boundary can be explicit, softened, or implied by the shape beside it.
Keep the useful evidence
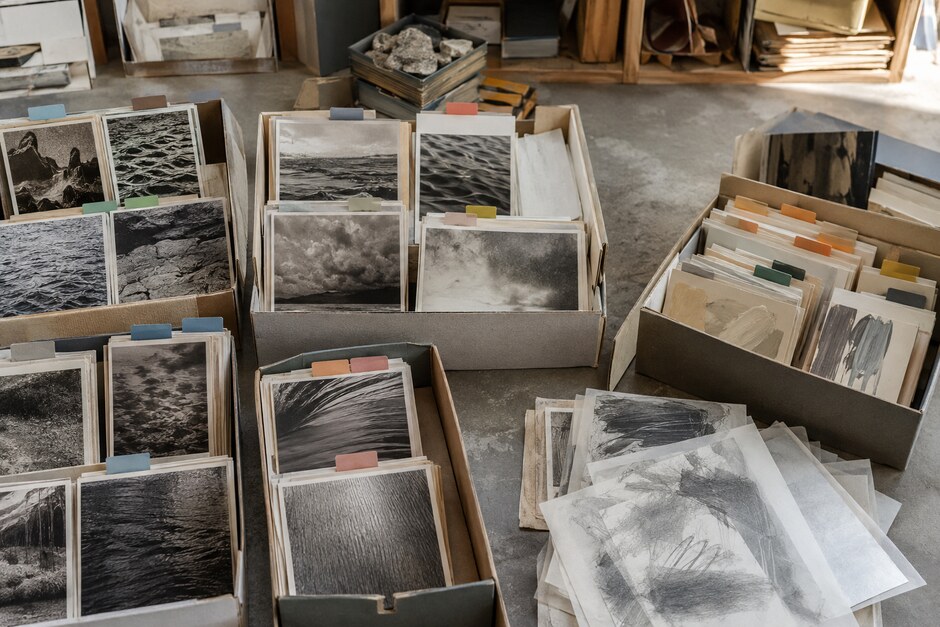
Date the four thumbnails and write one short observation: “the top gap was narrower than expected” or “the crop made the branch feel more active.” Store the page by problem rather than by subject. The organisation method in Build a Personal Reference Library works well for these diagnostic sheets.
Repeat the exercise later with a chair, a figure, or an urban view. The subjects become more complex, but the central question remains simple: what exact shape does the space make? Once you can answer that, the object often falls into place on its own.